Last Sunday was way to pretty to be inside (
which was where I needed to be). So I gathered up a few of my projects and headed out into the warm sunshine.
Project Remodel is almost done!!!
Being a Virgo I am a detail person (
I'll blame it on that at least). When I look at a big picture sometimes I don't see the big picture so much as the little details within. Other times I
only see the big picture.....
Anyway.
So Sunday I spent a few minutes taking off all of the kitchen cabinet knobs and handles.
They were in desperate need of a face lift!
Having one time been a brassy color, they were now a dark mess. First I soaked them in hot water and scrubbed them slightly before drying them and heading outside.
Marine and I had already come to terms with the fact we would probably be buying new ones, but I thought why not first try to salvage what we have.
At Lowe's I purchased a can of brown (hammered) spray paint; all the new fixtures are this browny-brass color so figured this would match. I wasn't sure how great it would work but figured it was worth a shot.
I laid out my paper on the grass and placed the handles and knobs down, then realized this was a mistake cause the grass was tipping them over so I relocated to the driveway.
 |
| Setting Up |
 |
| Kitchen Drawer Knob --- Before |
 |
| Handles Before |
 |
| Can we say YUCK! |
 |
| All laid out |
{ I couldn't find any newspaper so this was a perfect project to recycle tissue paper from the gifts at the couples shower the weekend before! }
Of course I had a few curious helpers......
 |
| What is this? |
 |
| Is this all we're doing?! |
 |
| Guess we can keep you company......... |
Yes we all need good helpers like these three!!
There in the driveway I shook it like a salt shaker listening to the little ball in the can clank around. After about a minute I figured that was good enough and began to spray.
I let them dry about an hour while I painted the bathroom vanity and then put a second coat on them.
The finished project turned out great, if I do say so myself!!!
 |
| After |
 |
| After |
None of them had the "hammered appearance the can advertised. But that may have been a user error on my part.......
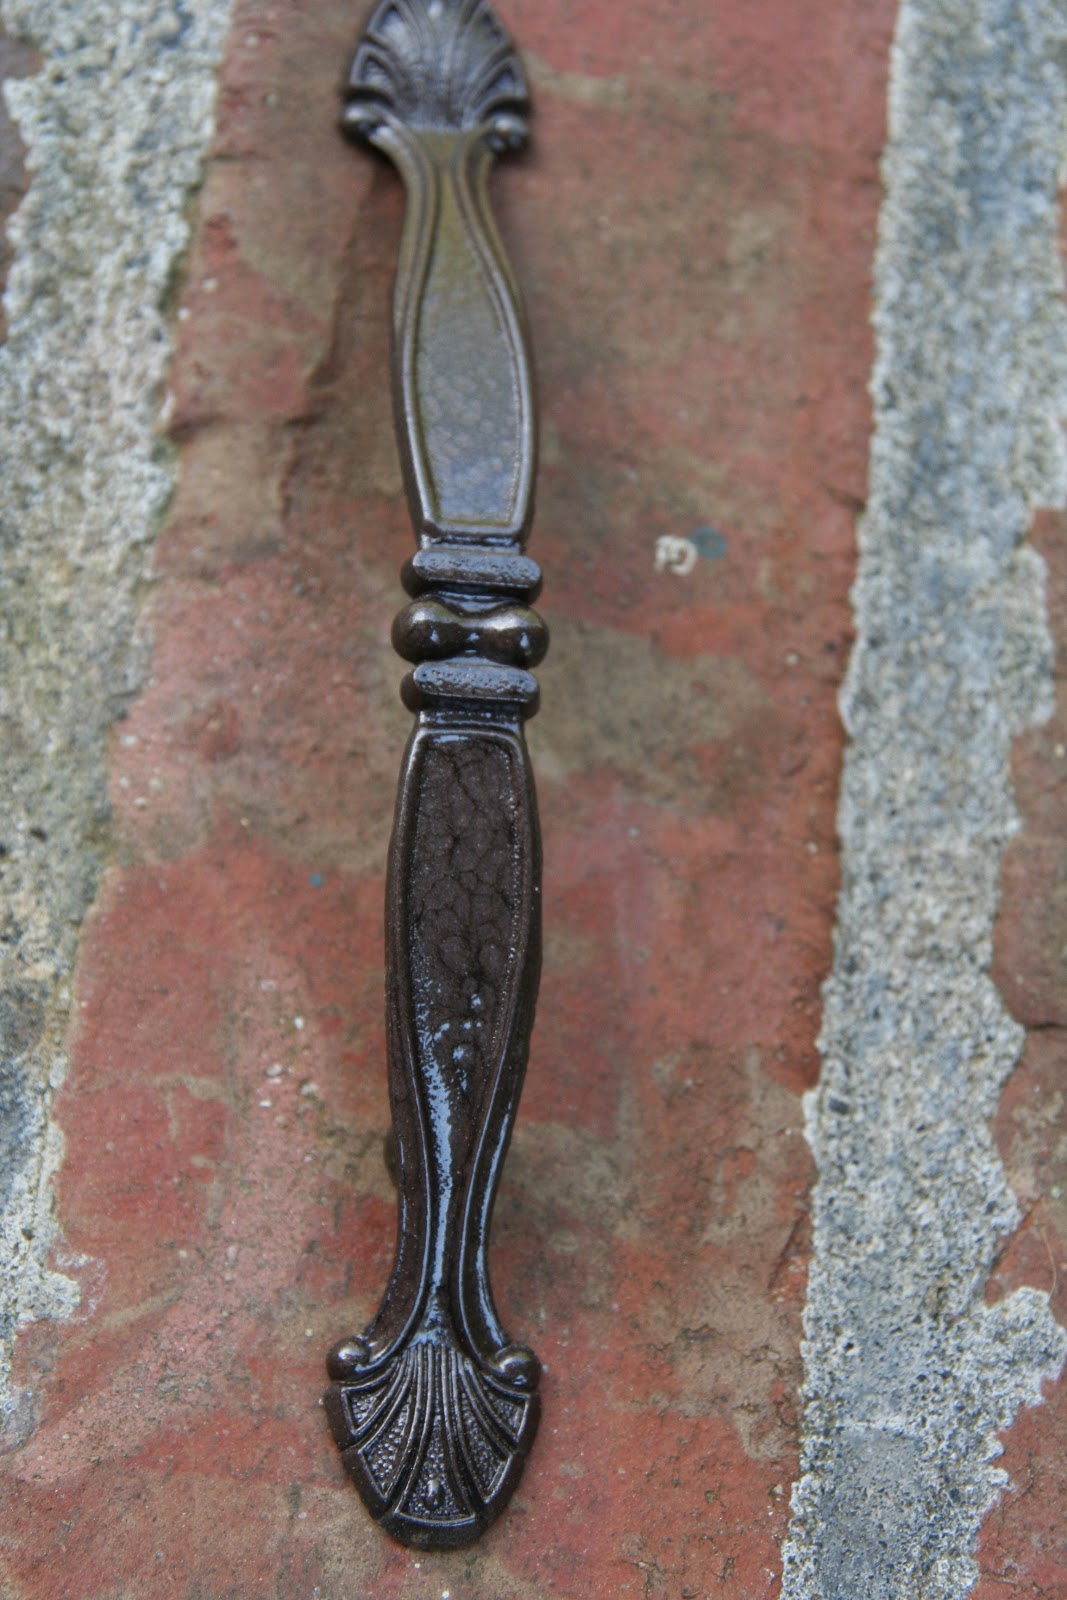
One lone handle came out of this with the hammered look.
 |
| The hammered affect |
Also amidst all of this madness I was also painting a few more
Chalk Boards. I purchased a few frames at the Dollar Tree so for a dollar I figured I would just paint the glass instead of cutting out a piece of wood......
This is where I would like to add a tip to
last weeks instructions! IF PAINTING GLASS A ROLLER BRUSH WILL NOT WORK!!!!
Seriously it just rolls the mess around! lol Instead use a foam brush...... luckily I had one of these lying around!
 |
| Glass Frame |
 |
| Foam Brush |
 |
| Painting |
 |
| Finished Project |
And while doing this I also managed to paint a bathroom vanity, unpack shower gifts and put them away, Murphy's oil what will soon be the TV armoire and several other dozen home projects.
What little projects have you done lately that have saved you money?


2 comments:
i love your craft projects!!! i wish i had time to undertake what you are :-)
They look so much better after a quick paint job. It's amazing what a can of cheap paint can do!
I can't wait to own our home so I can work on little projects like this. There are so many things I'd love to do to this place but it's a rental so I won't bother.
Can't wait to see finished pictures of your place!!
Post a Comment